Table of Contents
Table of Contents

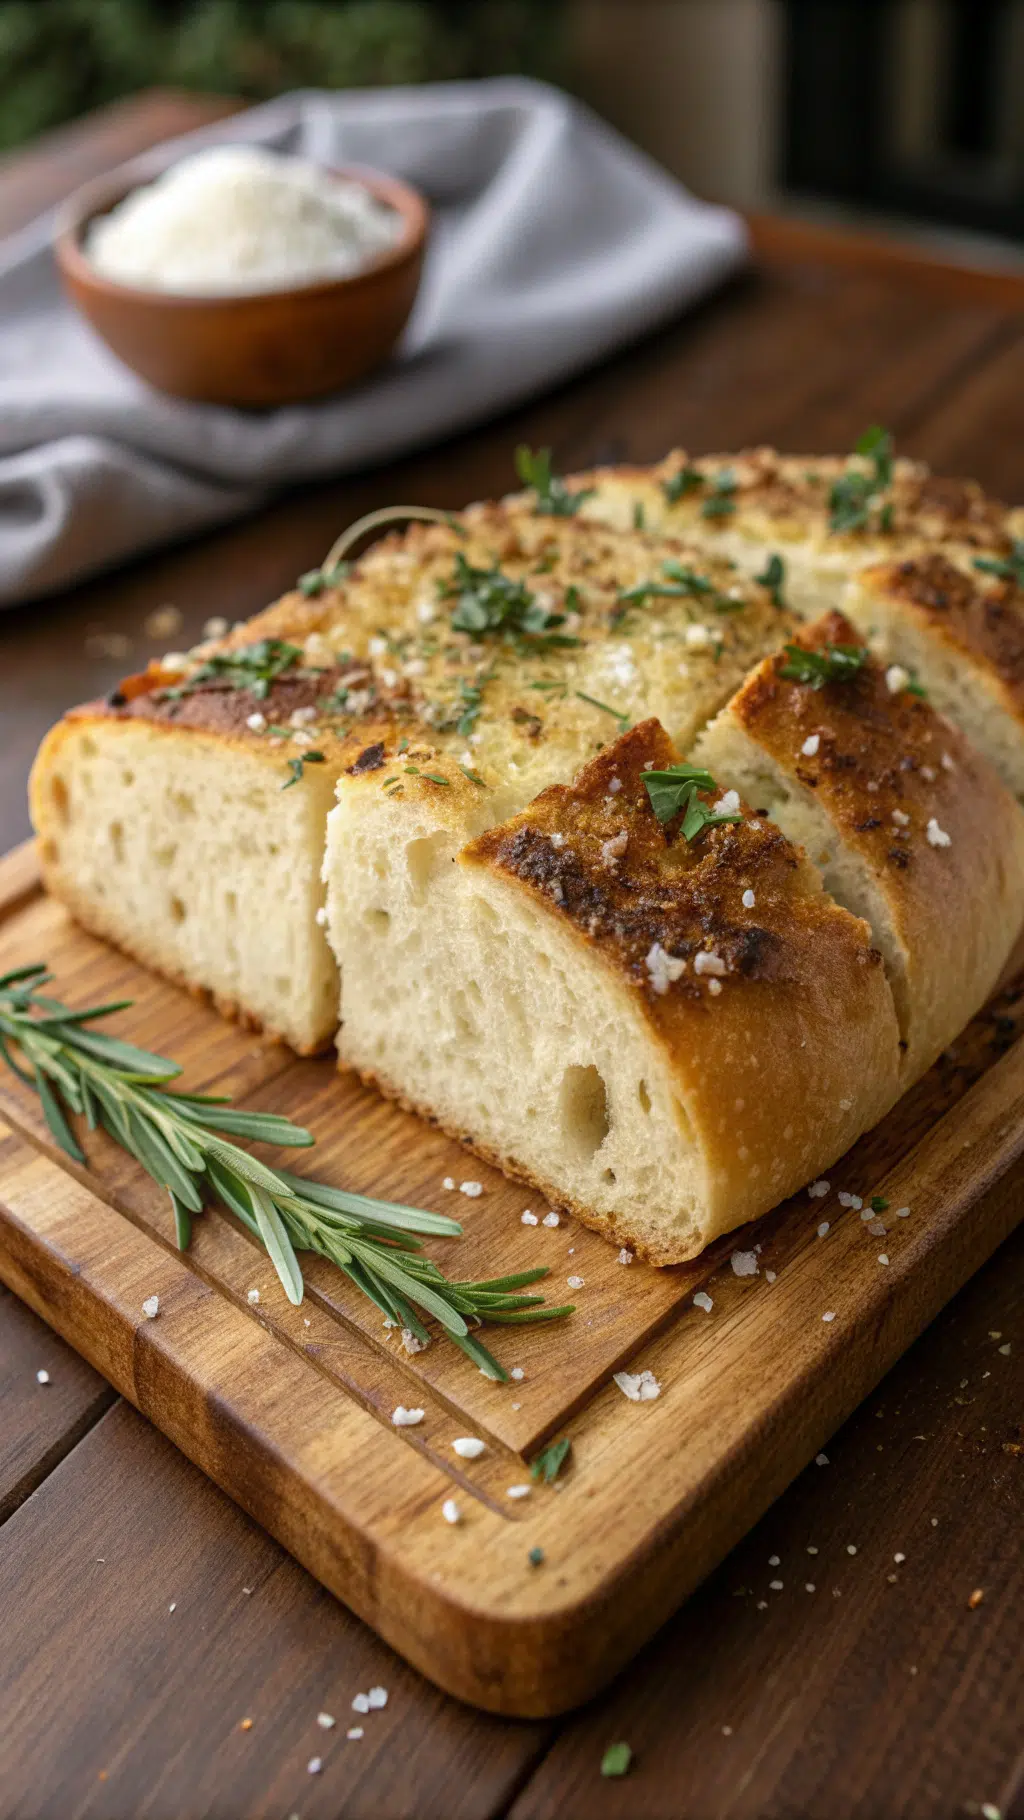
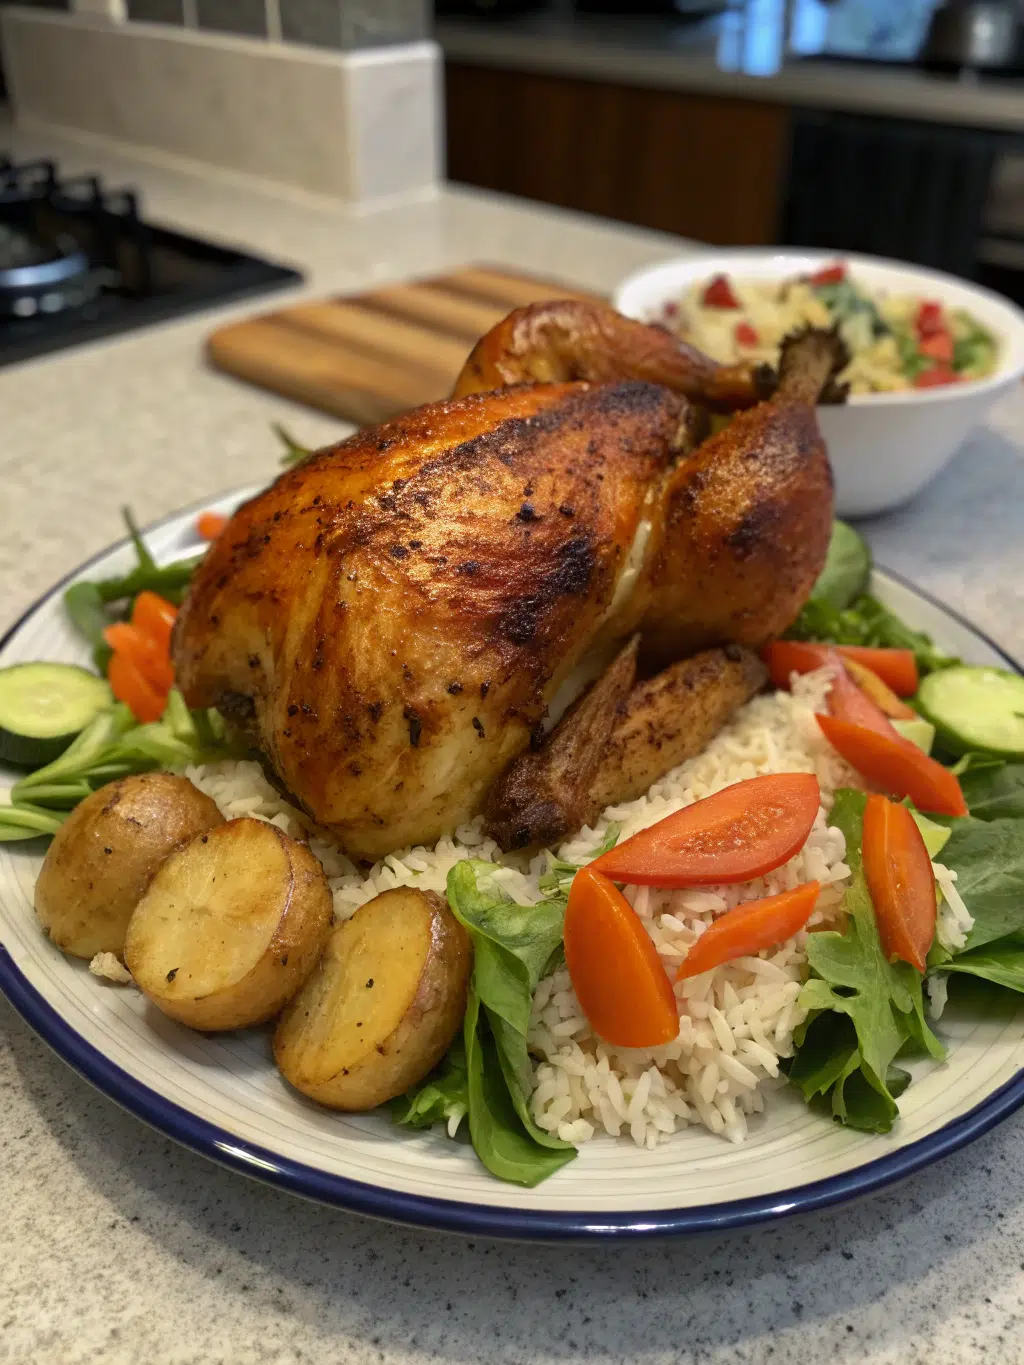
There’s nothing quite like biting into perfectly crispy, golden-brown chicken coated with savory Parmesan cheese. Parmesan Baked Chicken combines the irresistible flavors of Italian cheese with tender, juicy chicken for a weeknight dinner that feels gourmet. Whether you’re cooking for your family or hosting friends, mastering the art of extra-crispy baked chicken will elevate your home cooking game. In this comprehensive guide, we’ll explore seven proven techniques to achieve that perfect crunch every single time.
Overview / Definition
Parmesan baked chicken is a simple yet elegant dish featuring chicken breasts or thighs coated in a mixture of Parmesan cheese, breadcrumbs, and seasonings, then baked until golden and crispy. Unlike fried chicken, this healthier alternative achieves its signature crunch through proper coating techniques and oven temperature control.
The dish typically includes grated Parmesan cheese mixed with panko or regular breadcrumbs, Italian herbs, and sometimes additional ingredients like garlic powder or paprika. The chicken is usually dipped in egg or mayonnaise first to help the coating adhere properly, creating that restaurant-quality texture at home.
Importance / Benefits
Choosing baked chicken over fried alternatives offers numerous advantages for health-conscious home cooks. This cooking method reduces fat content significantly while maintaining incredible flavor and texture. The Parmesan cheese adds protein and calcium alongside its rich, umami taste.
Key benefits include:
- Healthier preparation: Uses less oil than traditional frying methods
- Time efficiency: Hands-off cooking once the chicken enters the oven
- Versatility: Pairs well with various side dishes and sauces
- Family-friendly: Appeals to both children and adults
- Budget-conscious: Uses affordable ingredients available at any grocery store
- Meal prep suitable: Reheats well for lunches throughout the week
According to nutrition experts at Healthline, Parmesan is among the healthiest cheese options, packed with nutrients and easier to digest than many other varieties.
Challenges / Common Mistakes
Even experienced cooks sometimes struggle to achieve perfectly crispy results. Understanding common pitfalls helps you avoid disappointing, soggy outcomes.
The most frequent mistakes include:
- Using wet chicken: Excess moisture prevents proper browning and creates steam instead of crispiness
- Skipping the binding layer: Without egg or mayonnaise, the coating falls off during cooking
- Overcrowding the pan: Reduces air circulation and causes uneven cooking
- Wrong oven temperature: Too low results in soggy coating, too high burns the outside before cooking the inside
- Using pre-shredded cheese: Contains anti-caking agents that prevent proper crisping
- Not using a wire rack: Allows the bottom to become soggy from trapped moisture
- Opening the oven repeatedly: Temperature fluctuations interfere with even cooking
Many home cooks also use chicken breasts that are too thick, resulting in an overcooked exterior with an undercooked center. Pounding chicken to even thickness ensures uniform cooking.
Step-by-Step Guide / Solutions

Follow these seven proven methods to create extra-crispy Parmesan chicken that rivals any restaurant version:
- Pat Chicken Completely Dry: Use paper towels to remove all surface moisture from the chicken. Dry chicken is essential for crispy coating adhesion. Let the chicken sit at room temperature for 15-20 minutes before coating.
- Create a Proper Breading Station: Set up three shallow dishes—one with flour seasoned with salt and pepper, one with beaten eggs (or mayonnaise thinned with a bit of milk), and one with your Parmesan-breadcrumb mixture. This triple-coating method ensures maximum crispiness.
- Use Fresh-Grated Parmesan: Grate your own Parmesan cheese from a block rather than using pre-shredded varieties. Fresh cheese melts better and creates superior texture. Mix it with panko breadcrumbs in a 1:2 ratio for optimal results.
- Add Fat to Your Coating: Mix 2-3 tablespoons of melted butter or olive oil directly into your breadcrumb mixture. This helps the coating brown beautifully and adds richness. Some chefs also spray the coated chicken lightly with cooking spray before baking.
- Use a Wire Rack Over a Baking Sheet: Elevating the chicken allows hot air to circulate completely around each piece. Line your baking sheet with foil for easy cleanup, then place a wire rack on top before arranging the chicken.
- Bake at the Right Temperature: Preheat your oven to 425°F (220°C) for thin cutlets or 400°F (200°C) for thicker pieces. The high heat creates steam that puffs up the coating while crisping the exterior. Consider finishing under the broiler for 1-2 minutes for extra golden color.
- Don’t Flip the Chicken: Unlike pan-frying, baking requires no turning if you use a wire rack. Flipping disrupts the coating and can make it soggy. Let the oven do all the work for consistently crispy results.
For more detailed information about proper chicken cooking temperatures and food safety, visit the USDA Food Safety guidelines.
Expert Tips
Professional chefs employ several advanced techniques to take their Parmesan chicken to the next level. Consider incorporating these insider secrets:
Season every layer: Don’t just season the coating—add salt and pepper to the flour, eggs, and chicken itself. Layered seasoning creates depth of flavor that makes each bite memorable.
Try different cheese combinations: While Parmesan is the star, mixing in small amounts of Pecorino Romano or aged Asiago adds complexity. A tablespoon of nutritional yeast also boosts umami flavors.
Incorporate cornstarch: Adding one tablespoon of cornstarch to your breadcrumb mixture creates an extra-crispy, almost tempura-like texture. This trick comes from Asian cooking techniques.
Let it rest: After coating the chicken, let it rest on a wire rack for 10 minutes before baking. This allows the coating to set and adhere better, reducing the chance of it falling off during cooking.
Use a meat thermometer: The internal temperature should reach 165°F (74°C) for food safety. Remove the chicken when it hits 160°F, as carryover cooking will bring it to the perfect temperature while resting.
Finish with fresh herbs: Garnish with chopped fresh parsley, basil, or a squeeze of lemon juice immediately after removing from the oven. Fresh elements brighten the rich, cheesy flavors.
FAQ
Q1: Can I use chicken thighs instead of breasts for Parmesan baked chicken?
A1: Absolutely! Chicken thighs work wonderfully and often stay juicier than breasts. Boneless, skinless thighs are the easiest to work with. They may require an additional 5-10 minutes of cooking time. The dark meat pairs beautifully with Parmesan’s savory notes.
Q2: How do I store and reheat leftover Parmesan chicken?
A2: Store leftovers in an airtight container in the refrigerator for up to 4 days. To maintain crispiness when reheating, use your oven or air fryer rather than the microwave. Reheat at 375°F for 10-12 minutes until warmed through. Avoid microwaving as it makes the coating soggy.
Q3: Can I make this recipe gluten-free?
A3: Yes! Simply substitute gluten-free panko breadcrumbs or crushed gluten-free crackers for regular breadcrumbs, and use gluten-free flour or cornstarch for the first coating. The Parmesan cheese is naturally gluten-free. The texture will be nearly identical to the traditional version.
Q4: Why is my coating falling off the chicken?
A4: This usually happens when the chicken is too wet or the binding layer is skipped. Make sure to thoroughly dry the chicken, use the flour-egg-breadcrumb method, and press the coating firmly onto the meat. Letting it rest before baking also helps the coating adhere better.
Q5: Can I prepare Parmesan chicken ahead of time?
A5: Yes! You can bread the chicken up to 24 hours in advance. Place the coated pieces on a wire rack over a baking sheet, cover loosely with plastic wrap, and refrigerate. The coating will actually set better, resulting in crispier chicken. Add 2-3 minutes to the baking time if cooking straight from the refrigerator.
Conclusion
Mastering the art of extra-crispy Parmesan chicken transforms a simple weeknight meal into something truly special. By following these seven techniques—from properly drying your chicken to using a wire rack and the right oven temperature—you’ll achieve consistently delicious results that your family will request again and again.
The beauty of this dish lies in its versatility and approachability. Whether you’re a beginner cook or an experienced home chef, these methods guarantee success. Remember that the key factors are moisture control, proper coating technique, and adequate heat circulation.
Don’t be afraid to experiment with different seasonings, cheese combinations, and cooking methods once you’ve mastered the basics. Try serving your Parmesan Baked Chicken alongside roasted vegetables, over pasta with marinara sauce, or sliced atop a fresh Caesar salad. With these professional techniques in your culinary toolkit, you’re ready to create restaurant-quality crispy chicken in your own kitchen. Start cooking tonight and discover why this classic dish has remained a beloved favorite for generations!